Cloud9에서 GUI로 Git 작업
전재원
본 기사는 이하 블로그로부터의 전재입니다.
TECH BACK
소개
Cloud9에서 Git을 조작합니다. Gui로 할 수 있어 간단・편리! Cloud9에서 Git 작업을 한 번에 설명합니다. 물론 명령으로 실행할 수도 있지만, 이번에는 Cloud9에서 제공하는 GUI에서 조작하는 방법을 설명합니다. Cloud9의 코드 관리에 대해서는 아래 기사를 참조하십시오.
[AWS] Cloud9 프로젝트를 CodeCommit으로 관리
[AWS] CodeCommit에서 Cloud9(EC2)로 Clone
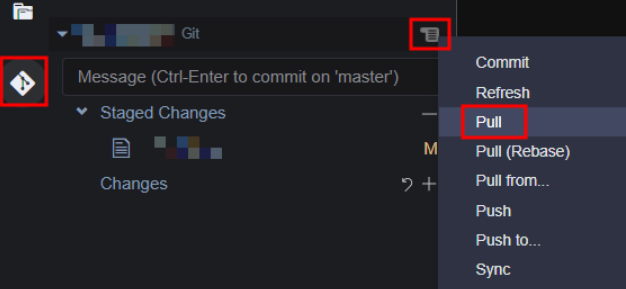
풀
Pull로 CodeCommit에서 최신 버전을 가져옵니다. Git 아이콘 → 프로젝트 이름 옆 아이콘 → Pull
브랜치 만들기
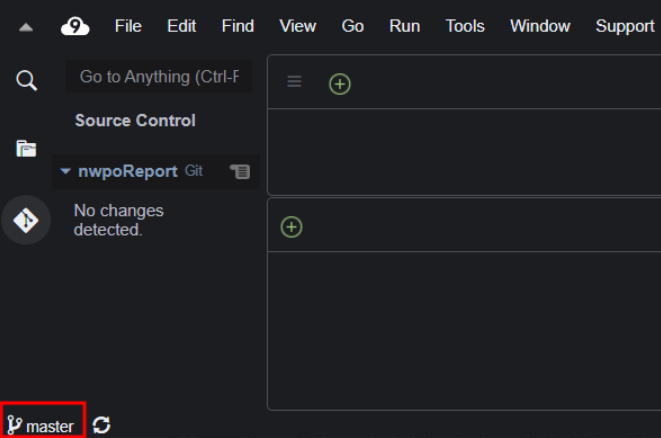
프로그램을 수정하기 전에 새 브랜치를 만드십시오. 왼쪽 하단의 브랜치 이름 클릭
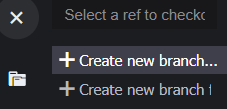
Create new branch... 클릭
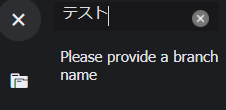
브랜치 이름을 입력하고 enter
왼쪽 하단의 브랜치 이름이 새 것입니다.

작성한 브랜치로 프로그램을 수정해 갑니다.
커밋
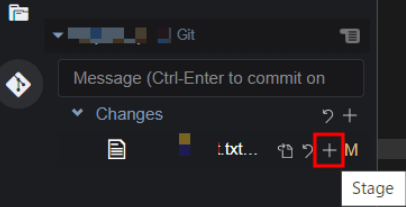
프로그램을 수정한 후 Commit합니다. 변경된 파일은 Git 아이콘 → Changes에 나열됩니다. 커밋할 파일 옆의 +(stage)를 클릭합니다.
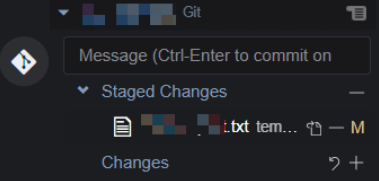
Staged Changes로 이동했습니다. 이제 커밋 대상이 되었습니다. 돌아가려면 - (Unstage)를 클릭하십시오.
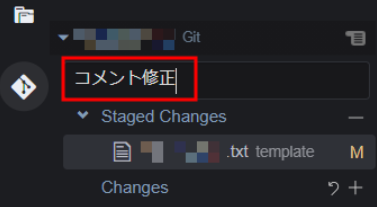
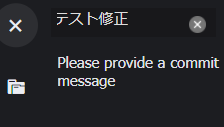
메시지 필드에 주석을 입력하고 Ctrl + enter. 메시지는 무엇이든 좋습니다. 변경 내용 등을 씁시다.
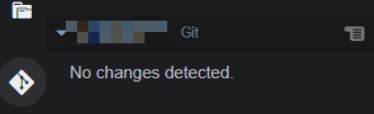
No changes detected 라고 표시되면 성공.
프로젝트 이름 옆의 아이콘에서도 커밋할 수 있습니다. 아이콘 → Commit
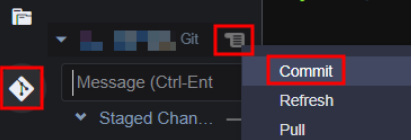
메시지를 입력하고 enter.
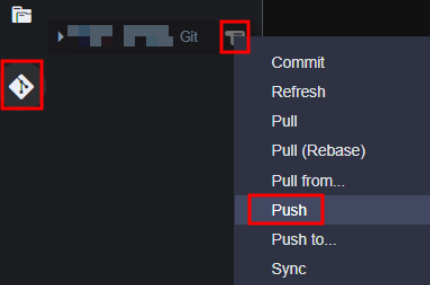
Push
CodeCommit에 수정 내용을 푸시합니다. Git 아이콘 → 프로젝트 이름 옆 아이콘 → Push
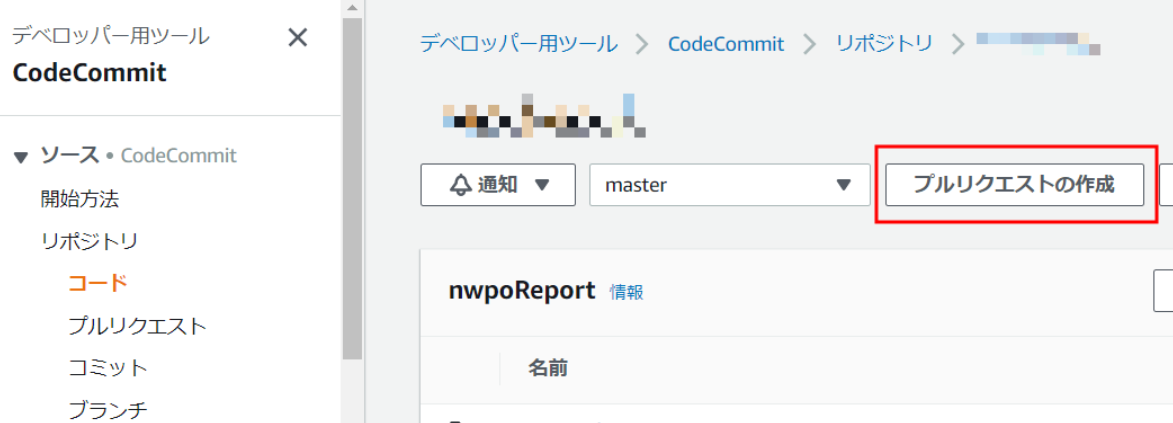
풀 요청
CodeCommit에서 Pull Request 실행 리포지토리 → Pull Request 할 프로젝트 선택 → 끌어 오기 요청 만들기
소스에 해당하는 분기 이름을 선택하고 비교를 클릭합니다.
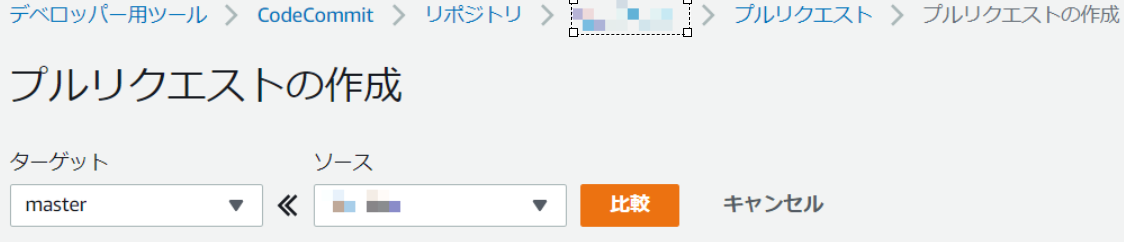
이상으로 종료입니다.
Reference
이 문제에 관하여(Cloud9에서 GUI로 Git 작업), 우리는 이곳에서 더 많은 자료를 발견하고 링크를 클릭하여 보았다 https://qiita.com/teckback/items/c1cff187fde6069d587e텍스트를 자유롭게 공유하거나 복사할 수 있습니다.하지만 이 문서의 URL은 참조 URL로 남겨 두십시오.
![]() 우수한 개발자 콘텐츠 발견에 전념
(Collection and Share based on the CC Protocol.)
우수한 개발자 콘텐츠 발견에 전념
(Collection and Share based on the CC Protocol.)
좋은 웹페이지 즐겨찾기
